 ChromieCraft: the open-source server

Installing AzerothCore using Linux containers – tutorial by Nolt.
LXD installation
- check if snapd and LXD are installed
sudo snap list
- if not type
sudo snap install snapd && sudo snap install lxd
sudo snap list

LXD configuration
lxd inid
Storage can be set up as a loop device, but it’s highly recommended to use a separate partition or disk as a storage pool. If you can’t’ it’s just fine, but be sure you have enough space on mount point “/” because loop device will be created in “/var/snap/lxd/common/lxd/disks/default.img”. 
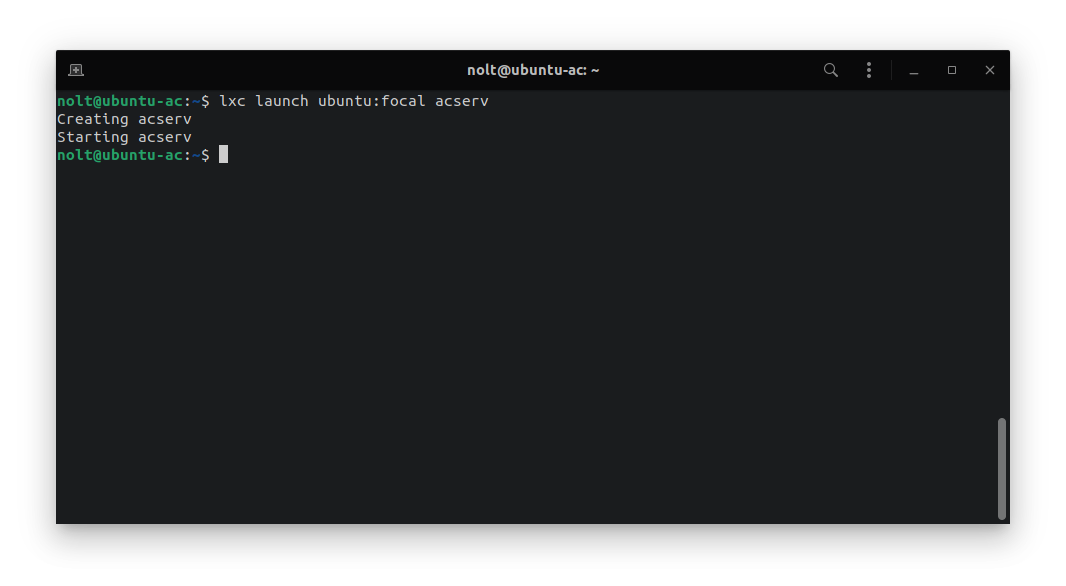
- launching first container
lxc launch ubuntu:focal acserv
- list your containers
lxc list

- attach to the container shell
lxc exec acserv bash

Congratulation! Your first container named “acserv” is up and running, you are now attached to it.
Assign new profile to LXD container
With this profile your container will gets LAN IP address.
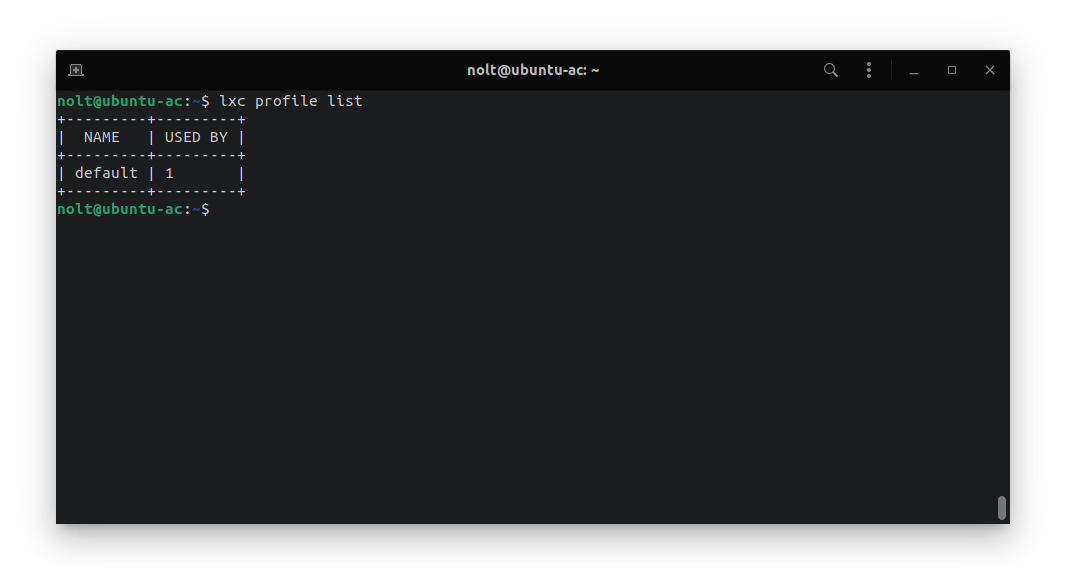
- list available profiles in your LXD
lxc profile list
- create new profile called “macvlan”, list all profiles
lxc profile create macvlan
lxc profile list

- check your network interface name and it’s default gateway
ip route show default 0.0.0.0/0
- in this example mine network interface is called “enp1s0”

- let’s create a new network interface called “eth1” in “macvlan” profile
lxc profile device add macvlan eth1 nic nictype=macvlan parent=enp1s0

- stop the container, assign a new profile to the container and start the container (it is best to assign both default and newly created macvlan profile to the container)
lxc stop acserv
lxc profile assign acserv default,macvlan
lxc start acserv

- attach to container
lxc exec acserv bash
- edit container network configuration using your text editor
vim /etc/netplan/50-cloud-init.yaml
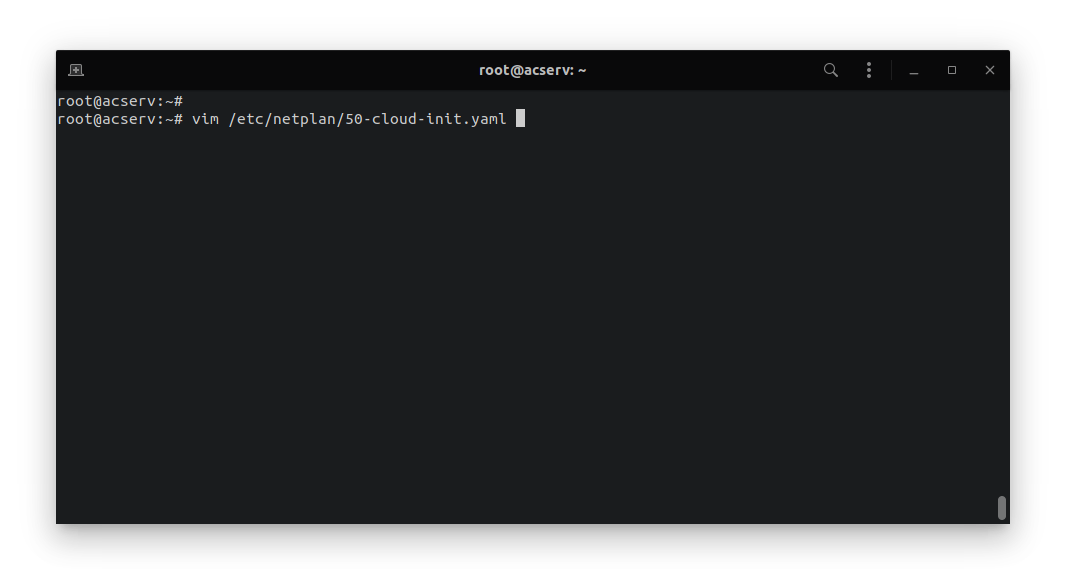
- add another interface called eth1 and set dhcp4 to “true”, file should look like this

- apply new configuration
netplan apply

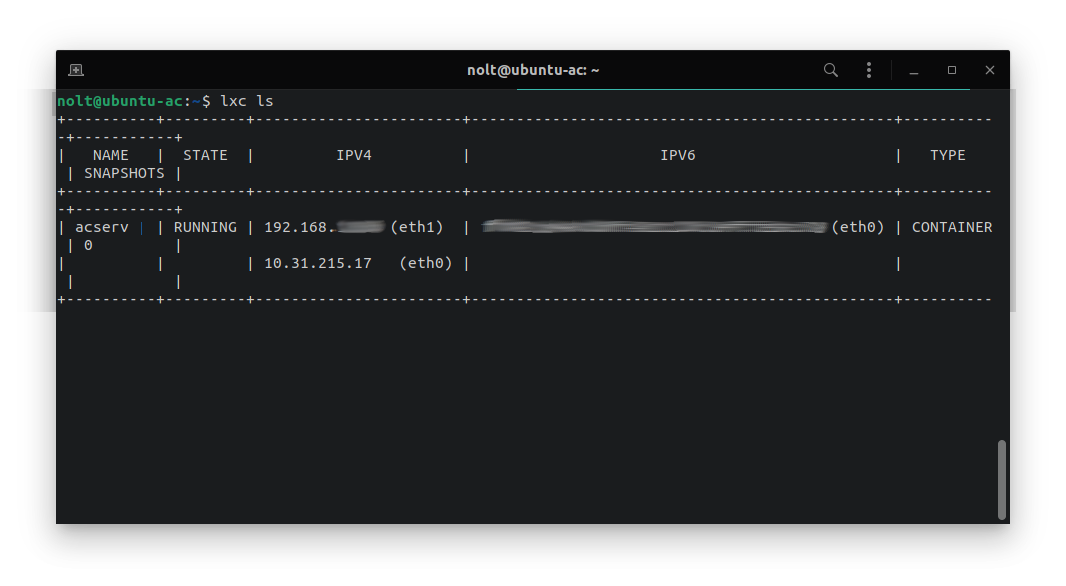
- your container should now have two network interfaces
- eth0 with IP from lxdbr0 DHCP (10.x.x.x)
- eth1 with IP from your LAN DHCP server (192.168.x.x) to check it just type
ip a
- you can also check IP addresses using “lxc list” command
lxc list
The last thing to do is to replace the IP in the realmlist table with your LAN IP.
AzerothCore installation
Packages installation
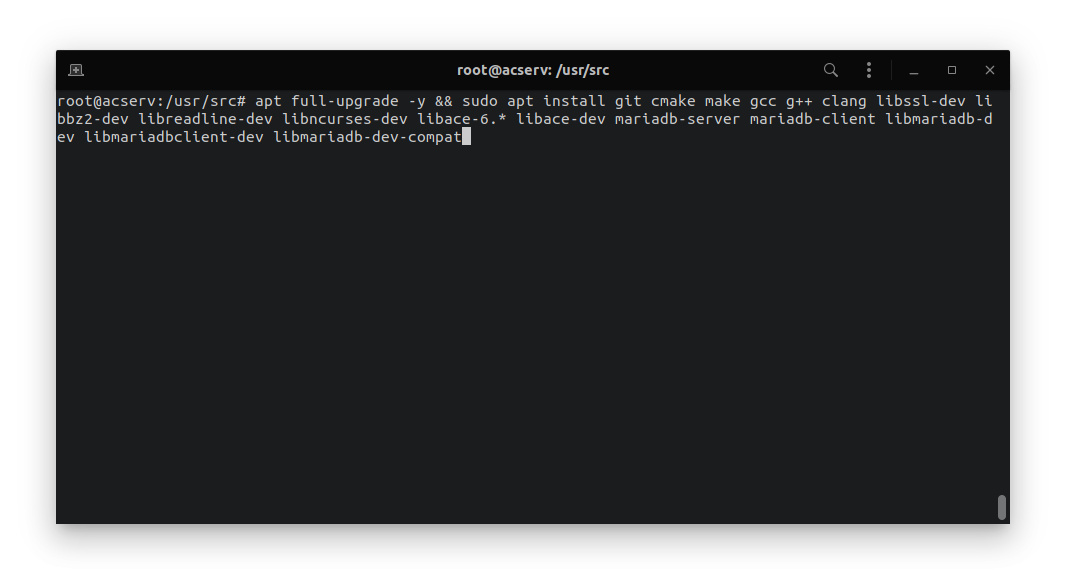
- update apt package list and install necessary packages
apt update
apt install git cmake make gcc g++ clang libssl-dev libbz2-dev libreadline-dev libncurses-dev libace-6.* libace-dev mariadb-server mariadb-client libmariadb-dev libmariadbclient-dev libmariadb-dev-compat
Database configuration
- create a new user with a password, grant him access to databases with all privileges
DROP USER IF EXISTS 'acore'@'localhost';
CREATE USER 'acore'@'localhost' IDENTIFIED BY '12345678';
GRANT ALL PRIVILEGES ON *.* TO 'acore'@'localhost' WITH GRANT OPTION;
FLUSH PRIVILEGES;
\quit

AzerothCore setup
- AC sources download; sources will be placed in “/usr/src” directory
cd /usr/src/
git clone https://github.com/azerothcore/azerothcore-wotlk.git --branch master --single-branch azerothcore

- go to downloaded sources
cd azerothcore/

- copy database installation config file “config.sh” and modify the password for the MySQL user (if you created non-default user for the database, change the user in this file too)
cp -av conf/dist/config.sh conf/
vim conf/config.sh


- run “db_assambler.sh” script and chose “5) import-all” option, database will be created and populated automatically (default – three database will be created “acore_auth”, “acore_characters”, “acore_world”)
(this process will take a while)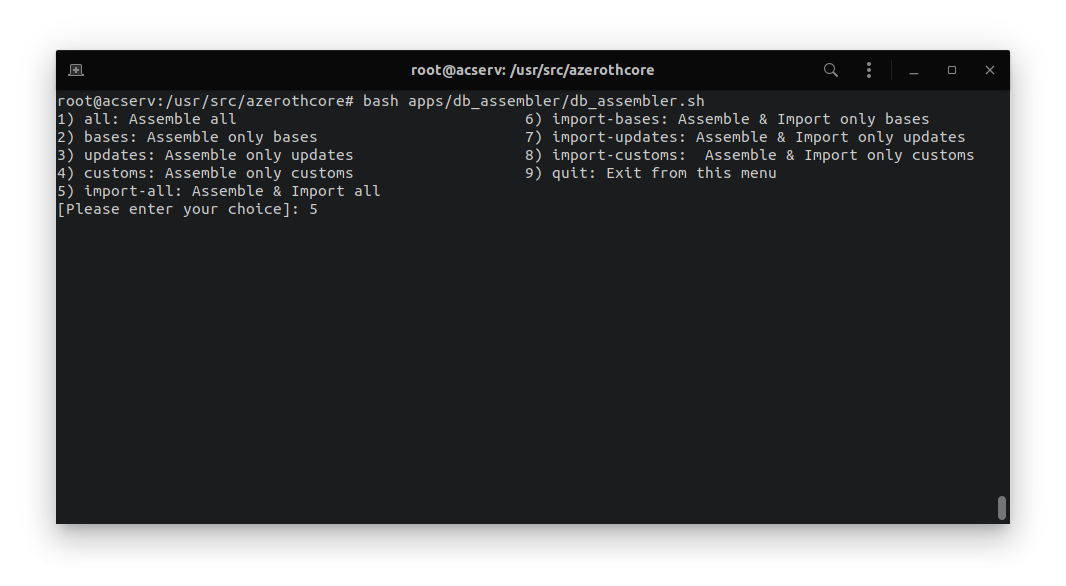
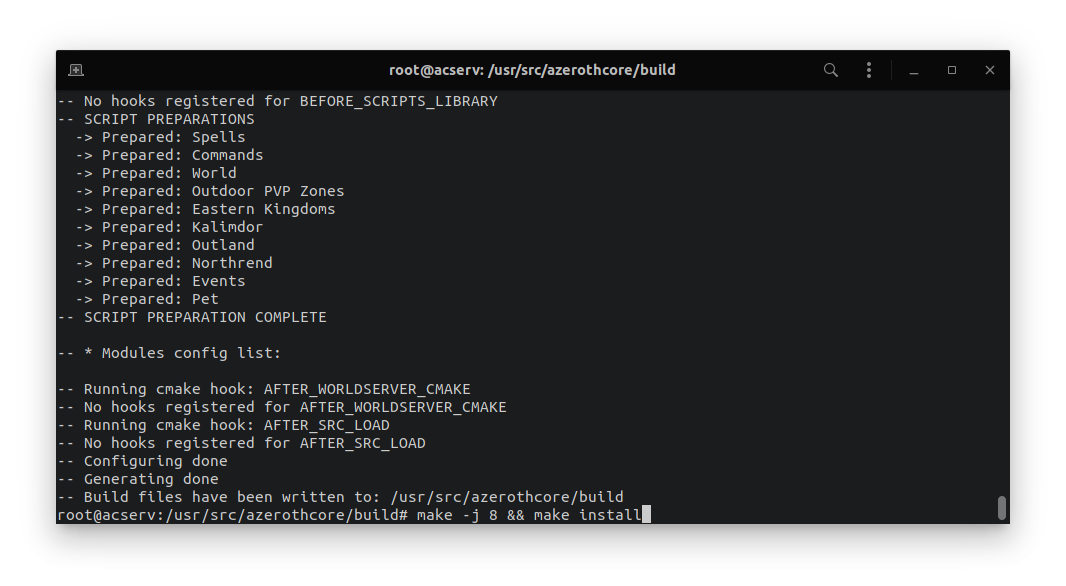
- prepare AzerothCore server sources
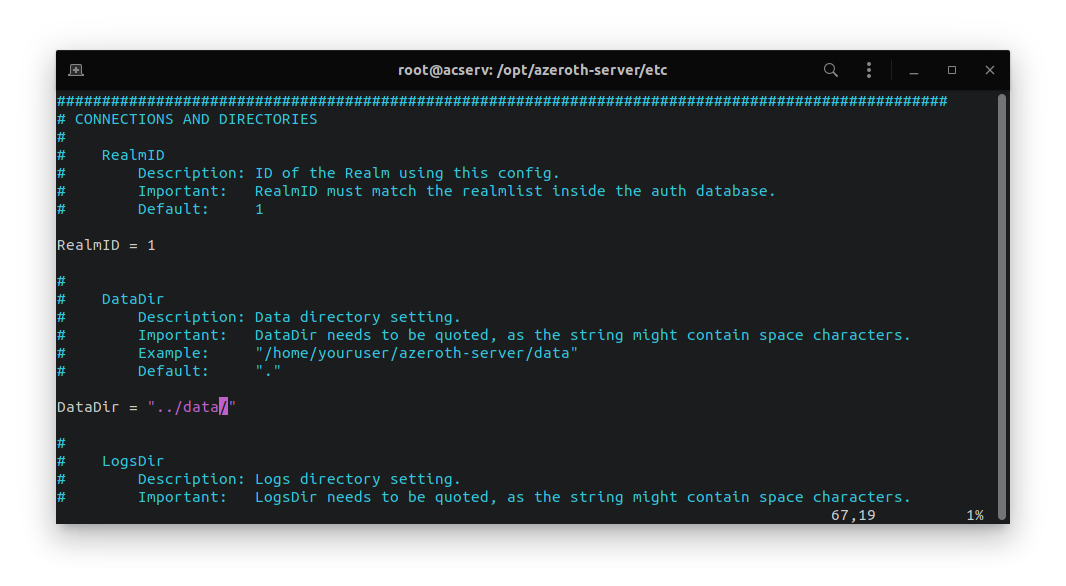
- create the build directory, cd inside it and run the “cmake” command; installation directory of AzorethCore will be placed in “/opt/azeroth-server”
mkdir build && cd build
cmake ../ -DCMAKE_INSTALL_PREFIX=/opt/azeroth-server/ -DCMAKE_C_COMPILER=/usr/bin/clang -DCMAKE_CXX_COMPILER=/usr/bin/clang++ -DWITH_WARNINGS=1 -DTOOLS=0 -DSCRIPTS=1

- compile and build binaries (-j NUMBER_OF_CPU_CORES)
(this process will take a while it depends on your hardware specs)
make -j 8 && make install

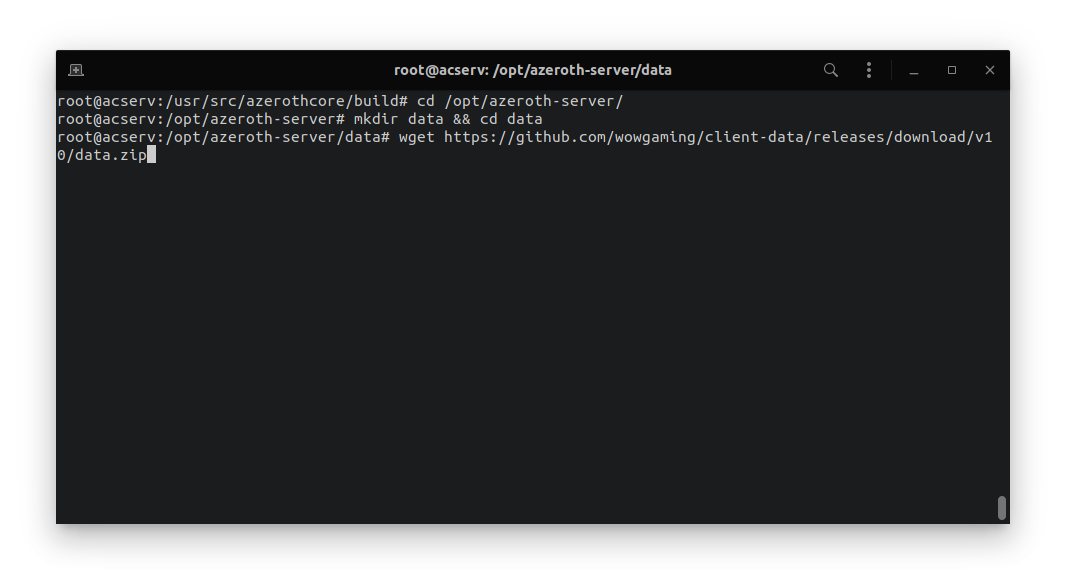
- client data download
cd /opt/azeroth-server/
mkdir data && cd data
wget https://github.com/wowgaming/client-data/releases/download/v10/data.zip
- unzip downloaded file
unzip data.zip
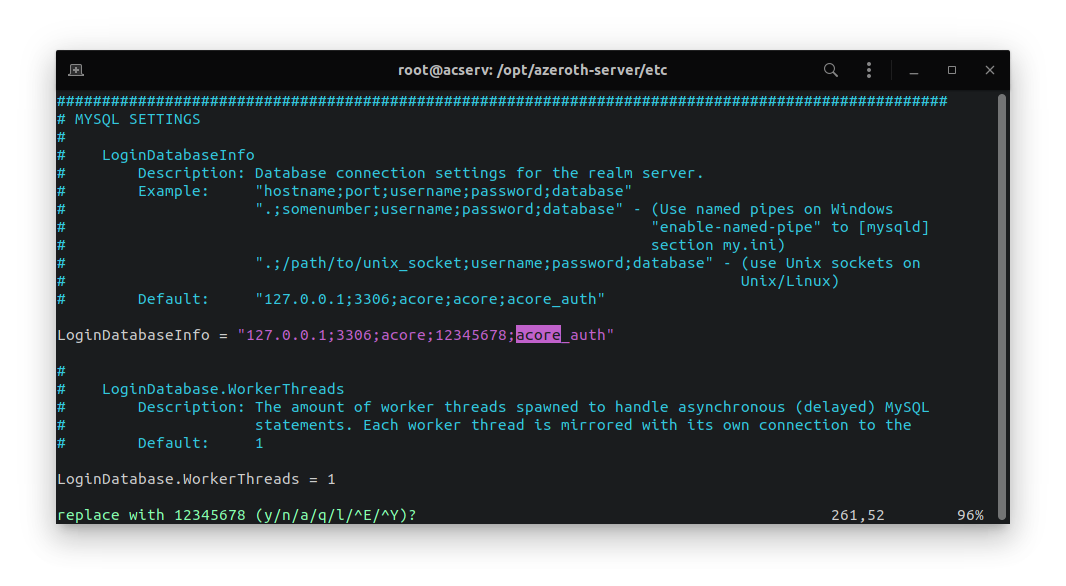
- copy AzerothCore server configuration files and modify password to the MySQL user (and if needed user itself); change the path to your “data” folder
cd ../etc/
cp -av authserver.conf.dist authserver.conf
cp -av worldserver.conf.dist worldserver.conf

- edit authserver.conf
vim authserver.conf
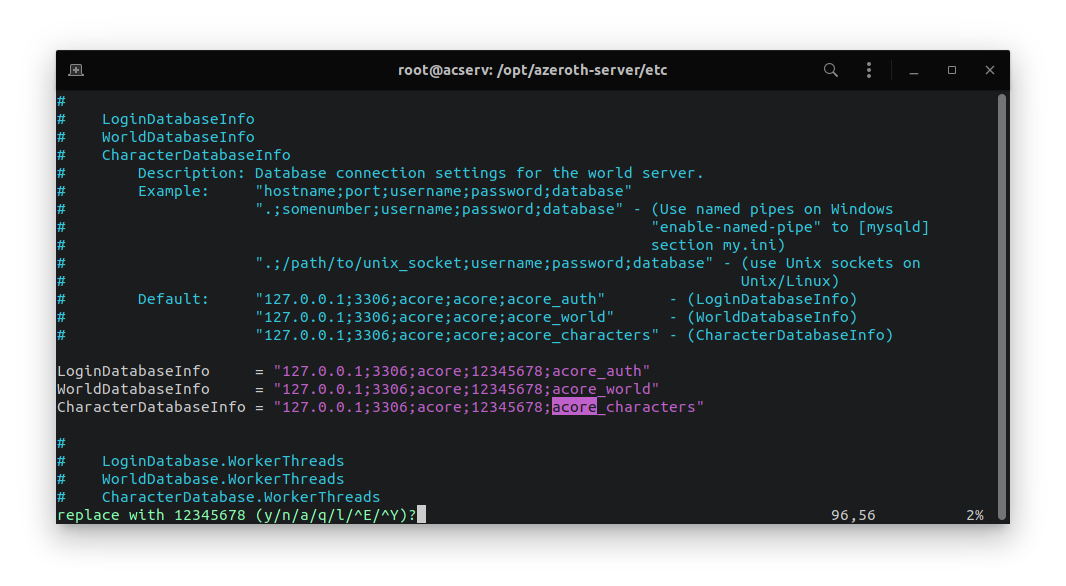
- edit worldserver.conf
vim worldserver.conf
- check the container IP address
ip a
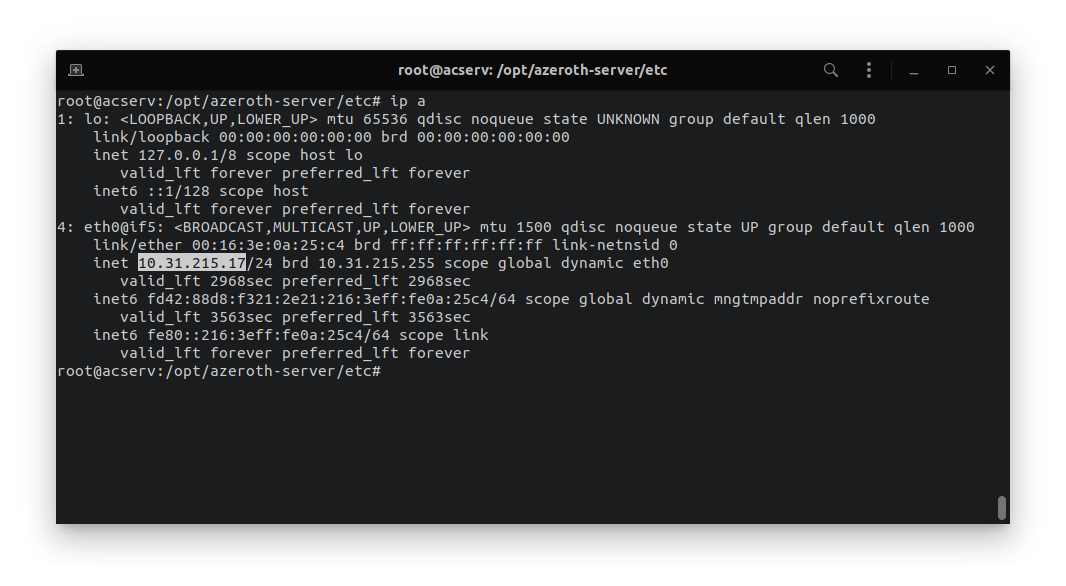
- replace default IP address to your container IP address in “auth” database
mysql acore_auth -u acore -p
select * from realmlist;
update realmlist set address='CONTAINER_IP_ADDRESS';

Run AzerothCore server
To manage your AzerothCore server (start, stop and restart) you can use restarter:
- acore-linux-restarter
or run it manually as described below - go to bin directory and run a new tmux session (in this example session will be called ac)
cd ../bin/
tmux new -s ac

- open two panes key combination “Ctrl+b %”
in the first run- ./authserver
swap to the second pane with “Ctrl+b o” or “Ctrl+b left/right” key combination and run - ./worldserver
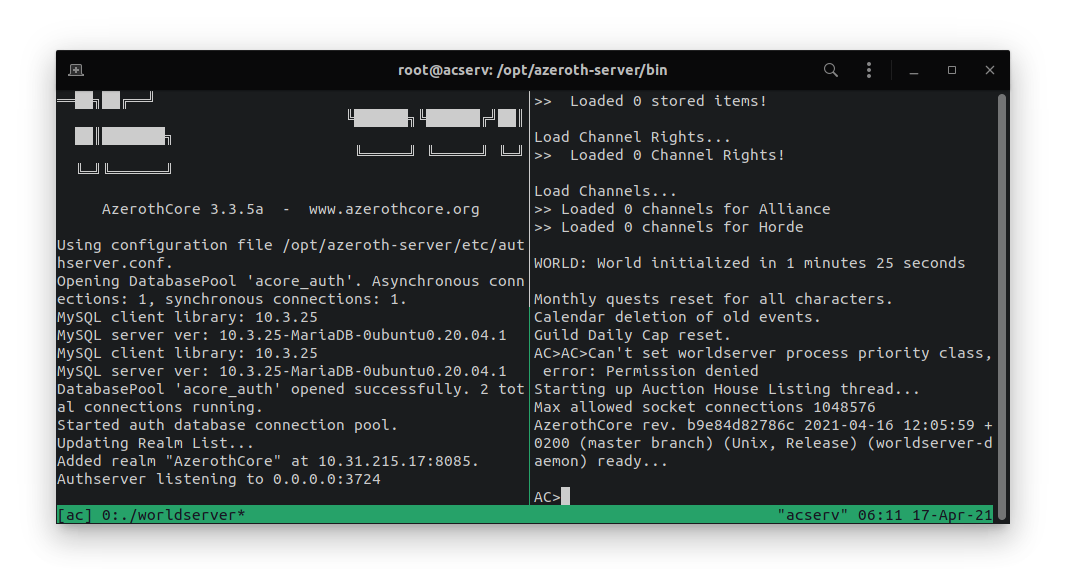
- ./authserver
- to detach from tmux session use “Ctrl+b d”
- to attach again to “ac” session type in terminal
tmux a -t ac
Congratulation! Your AzerothCore server is running on a LXD container.
Remember to change the IP in your game client.